1. Getting Started
Welcome to the TNK Scope manual. This compact experimental station is designed to make electronics and physics experiments accessible and straightforward.
Initial Setup
- Connect the TNK Scope to your computer or power bank using the provided USB-C cable.
-
The OLED display will turn on, indicating the device is
powered.
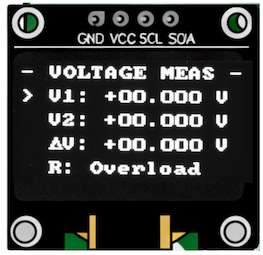
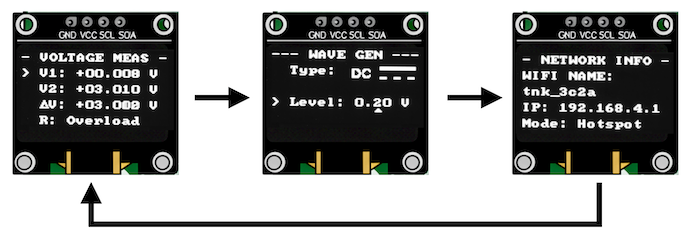
- Press and hold the middle button (→) to switch between different screen modes.
-
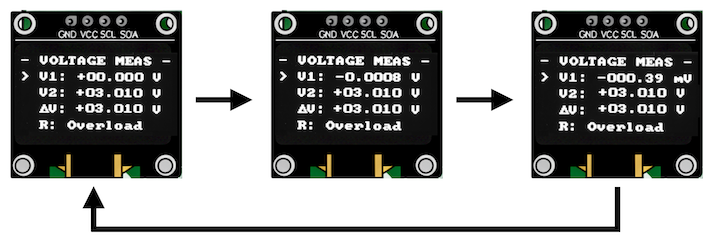
Voltage and Resistance Measurement Mode
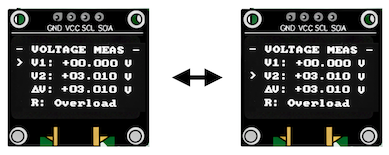
- Press the (→) button to change the channel for adjusting the measurement range.
- Press the (↑) or (↓) button to change the measurement range.
-
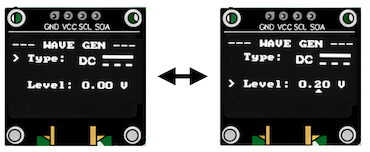
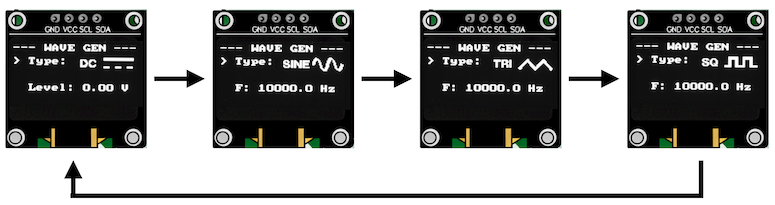
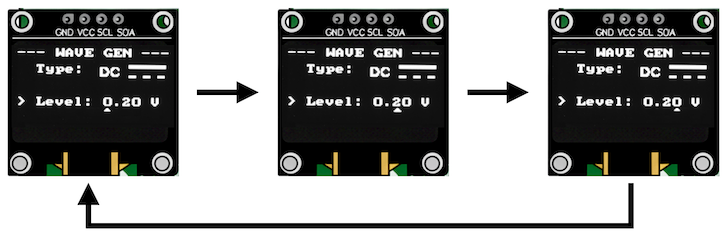
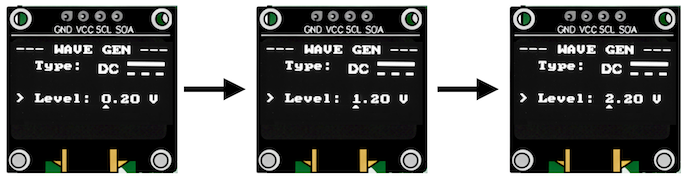
Signal Generator Mode
- Press the (→) button to change the parameter to adjust.
- Press the (↑) or (↓) button to change the signal type.
- Press and hold the (↑) or (↓) button to change the active digit.
- Press the (↑) or (↓) button to change the value.
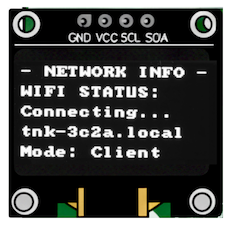
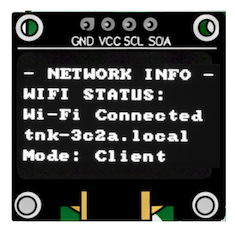
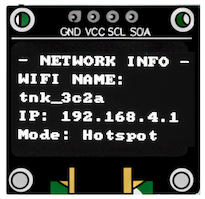
- Network Information Screen.
2. Wiring Connection
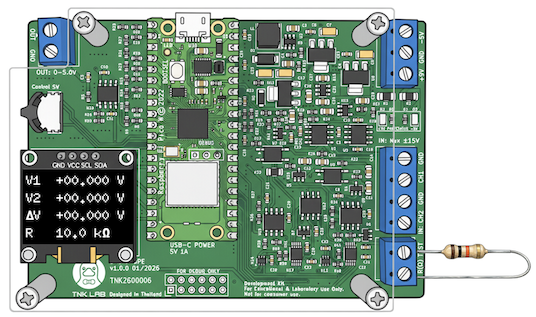
Using TNK Scope in experiments involves the following power and signal connections:
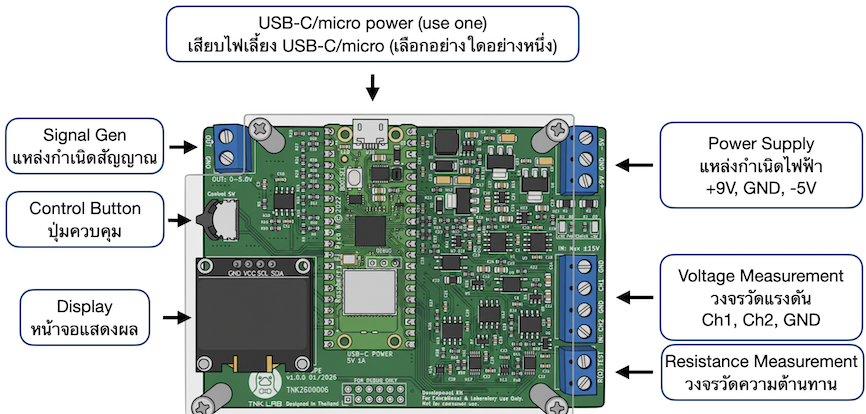
- Power Supply: Positive and negative terminals +9V, -5V, and GND.
- Inputs: Voltage measurement circuit (used with 2-channel oscilloscope CH1, CH2).
- Inputs: Resistance measurement circuit.
- Outputs: Signal generator for Sine, Square, Triangle waves, and DC voltage signal.
3. Wi-Fi Connection for TNK Scope Application
You can connect TNK Scope to the TNK Scope application on a mobile phone or tablet via Wi-Fi.
- Reset Wi-Fi connection data by pressing and holding the (↑) button while connecting the USB-C cable to power on.
- Check the status by going to the network information screen.
-
Hotspot Mode: Mobile phone or tablet connects directly
to TNK Scope's Wi-Fi.
- On the network information screen, TNK Scope's Wi-Fi details will be displayed, e.g., tnk_3c2a.
- Turn on your mobile phone or tablet's Wi-Fi and connect to TNK Scope's Wi-Fi.
- Once connected, a screen asking for Wi-Fi Network and Password might appear. You can ignore it (close the window or select 'Use without internet') if you want to continue using Hotspot mode.
- Open the TNK Scope application on your mobile phone or tablet, and the device will appear ready to connect.
-
Client Mode: TNK Scope connects to the same Wi-Fi
network as the mobile phone or tablet.
- On the network information screen, TNK Scope's Wi-Fi details will be displayed, e.g., tnk_3c2a.
- Turn on your mobile phone or tablet's Wi-Fi and connect to TNK Scope's Wi-Fi.
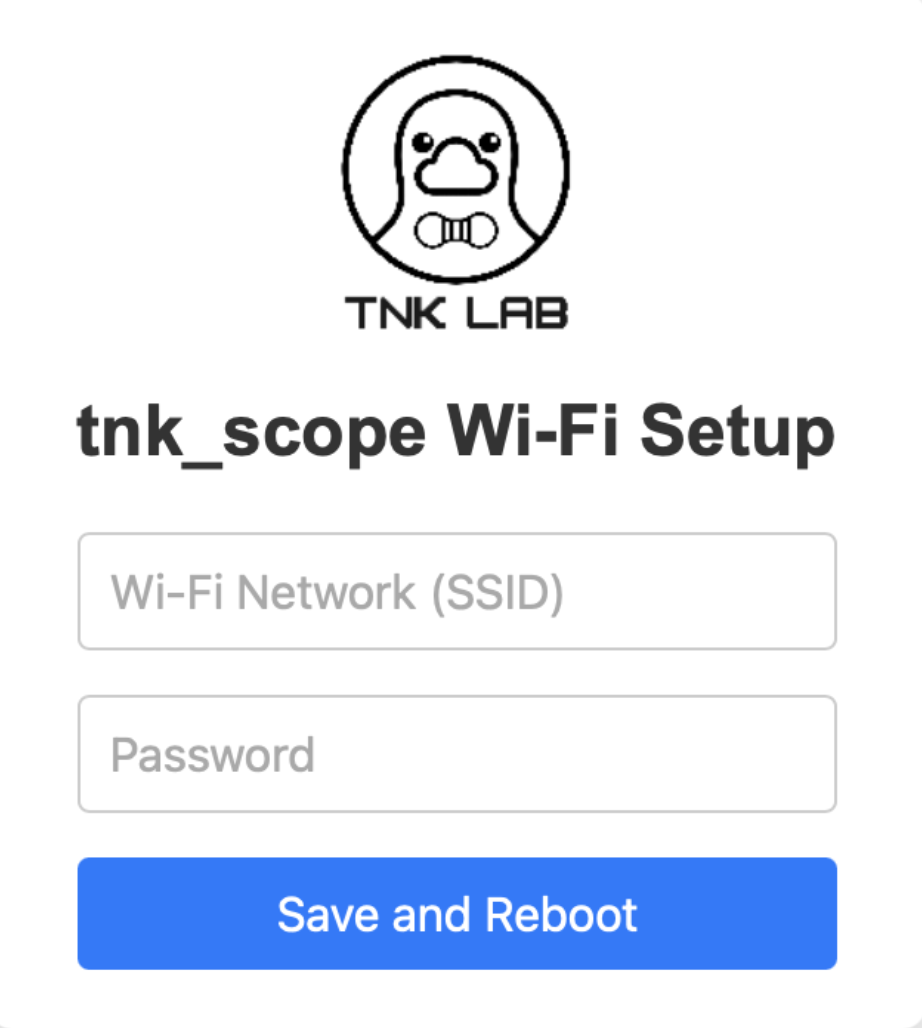
- Once connected, a screen might appear asking for the Wi-Fi Network and Password that you want TNK Scope to connect to.
- Press Save and Reboot. The TNK Scope will reboot and connect to the selected Wi-Fi Network.
- Check the connection status on the network information screen.
- To return to Hotspot mode, disconnect the USB-C cable, then press and hold the (↑) button while reconnecting the USB-C cable to power on. TNK Scope will reset the Wi-Fi connection data back to Hotspot mode.